Caravanning around New Zealand offers incredible freedom and adventure, but electrical problems can quickly turn a dream trip into a frustrating experience. Whether you’re dealing with flickering lights, a battery that won’t hold charge, or appliances that refuse to work, understanding how to troubleshoot caravan electrical issues can save you time, money, and stress. This guide covers the most common electrical problems caravan owners face, how to identify them, and when it’s time to call in a professional auto electrician for assistance.
Common Caravan Electrical Problems and How to Fix Them
Battery Issues
Battery problems are among the most frequent electrical issues caravan owners encounter. Your leisure battery powers everything from lights to water pumps when you’re not connected to mains power, so keeping it in good condition is essential. If your battery isn’t holding charge, the first step is to check for any obvious signs of damage such as swelling, corrosion on the terminals, or leaking fluid. Corroded terminals can prevent proper electrical flow, but they can often be cleaned with a wire brush and a solution of baking soda and water.
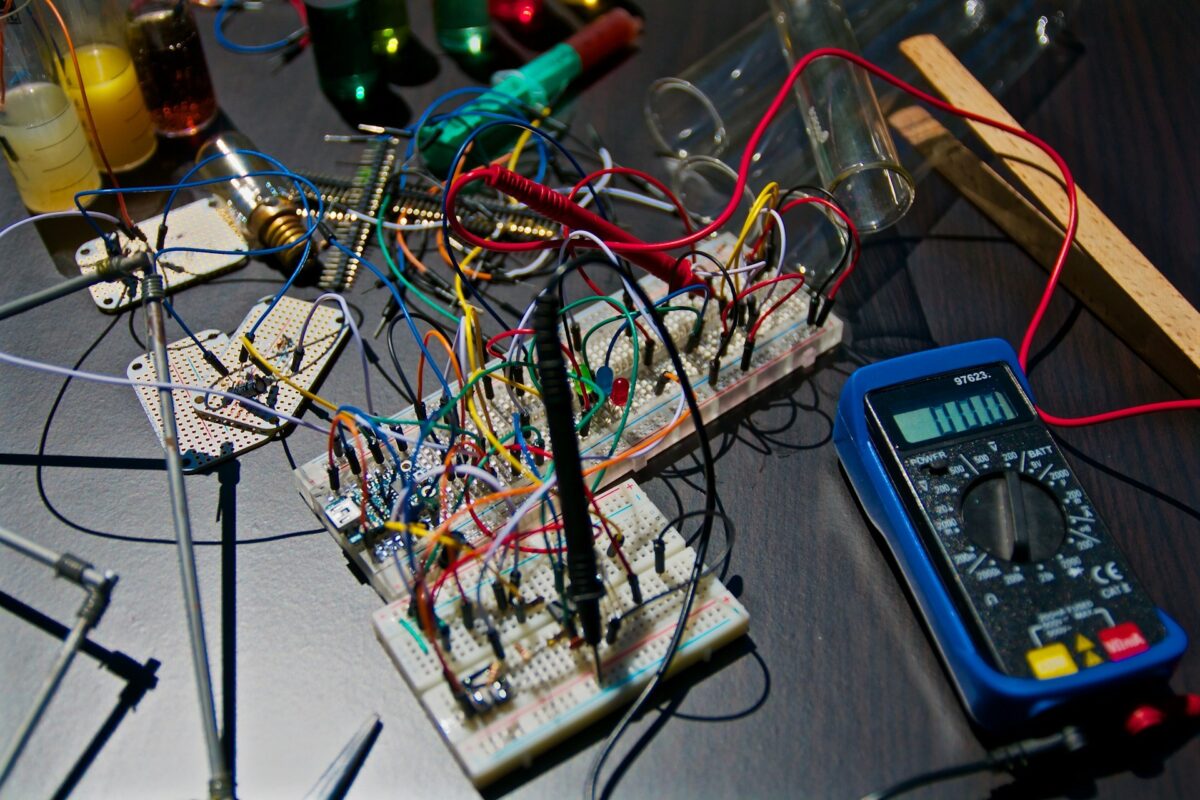
A battery that drains quickly might indicate a parasitic draw, where something in your caravan’s electrical system is consuming power even when everything appears to be switched off. This could be a faulty appliance, a damaged wire, or even a light that hasn’t fully turned off. To identify a parasitic draw, you can disconnect the battery and use a multimeter to test the current flow. If you’re not confident doing this yourself, an auto electrician can quickly diagnose the issue and locate the source of the drain.
Battery age also plays a significant role in performance. Most leisure batteries last between three and five years, depending on usage and maintenance. If your battery is approaching this age and showing signs of reduced capacity, replacement is often the most practical solution. When selecting a new battery, consider your power requirements and choose a battery with sufficient amp-hour capacity for your needs.
Faulty Lighting
Lighting problems in caravans can range from individual bulbs that won’t work to entire circuits that have failed. Start by checking the simplest solution first, which is the bulb itself. LED bulbs have largely replaced traditional incandescent bulbs in modern caravans, but they can still fail. Remove the bulb and inspect it for any visible damage, then test it in another fitting if possible to confirm whether the bulb is the issue.
If the bulb is fine, the problem likely lies in the wiring or connections. Caravans experience significant vibration during travel, which can loosen connections over time. Check the connections at the light fitting and trace the wiring back towards the fuse box, looking for any loose or corroded connections. Corrosion is particularly common in older caravans or those that have been exposed to moisture, and it can create resistance in the circuit that prevents lights from working properly.
Flickering lights often indicate a loose connection somewhere in the circuit. This might be at the light fitting itself, at a junction box, or even at the battery terminals. Systematic checking of each connection point along the circuit will usually reveal the culprit. If multiple lights on the same circuit are affected, the issue is more likely to be at a shared point such as the fuse, a common earth connection, or the switch that controls that circuit.
12V Socket and USB Port Failures
The 12V sockets and USB ports in your caravan are essential for charging devices and powering accessories. When these stop working, it’s often due to a blown fuse. Locate your caravan’s fuse box and identify the fuse for the affected circuit, then check whether the fuse element is intact. Replacement fuses should always match the amperage rating specified for that circuit, as using a higher-rated fuse can create a fire risk.
If the fuse is intact, the socket itself might be faulty. Years of plugging and unplugging devices can wear out the internal contacts, preventing a proper connection. You can test this by gently wiggling a plug while it’s inserted to see if the connection is intermittent. Replacement sockets are relatively inexpensive and straightforward to install, though ensuring proper connections during installation is important to avoid future problems.
Sometimes the issue lies with the wiring behind the socket rather than the socket itself. Vibration from road travel can cause wires to work loose from their terminals or create breaks in the wire itself. Accessing the wiring behind a socket usually requires removing a panel or trim piece, after which you can inspect the connections and check for continuity in the wiring using a multimeter.
Inverter and Charger Problems
Many caravans are equipped with inverters that convert 12V DC power to 240V AC power, allowing you to use standard household appliances. When an inverter stops working, first check that it’s receiving adequate power from the battery. Inverters typically require a minimum voltage to operate, and if your battery is low, the inverter may shut down to protect itself. Check your battery voltage with a multimeter; it should read at least 12.4V for the inverter to function properly.
Overloading is another common cause of inverter failure. Each inverter has a maximum wattage rating, and attempting to power appliances that exceed this rating will cause the inverter to shut down or trip its internal protection. Calculate the total wattage of any appliances you’re trying to run simultaneously and compare this to your inverter’s capacity. Remember that some appliances, particularly those with motors, have a higher startup wattage than their running wattage.
Battery chargers, which replenish your leisure battery when connected to mains power, can also develop faults. If your battery isn’t charging when plugged into mains power, check that the charger is receiving power and that all connections are secure. Many modern chargers have diagnostic lights or displays that indicate their status. A charger that’s getting power but not charging the battery may have an internal fault and require replacement or professional repair.
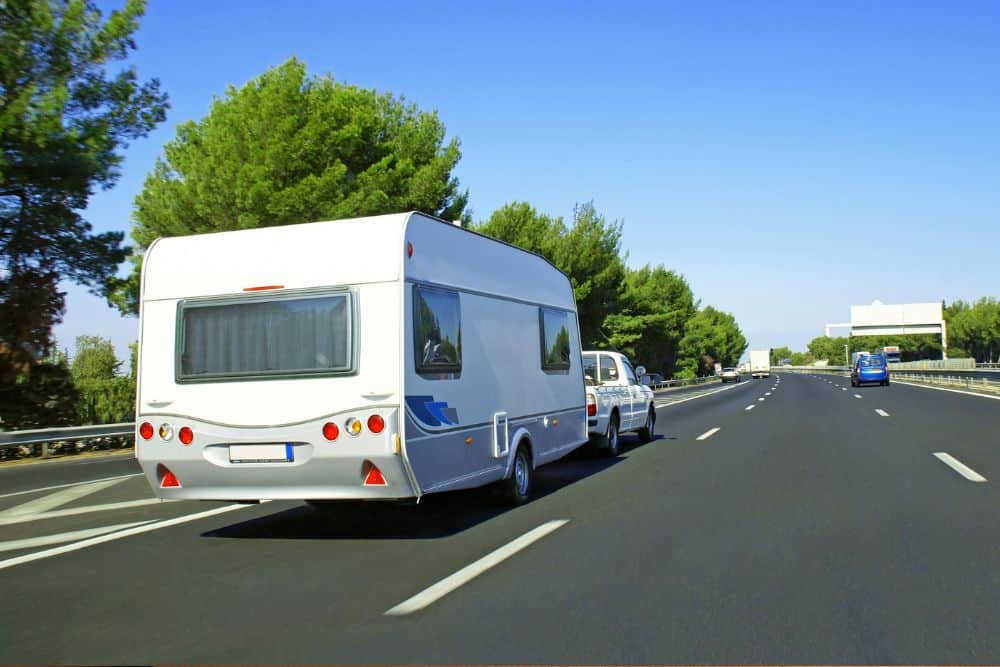
Problems with the Tow Vehicle Connection
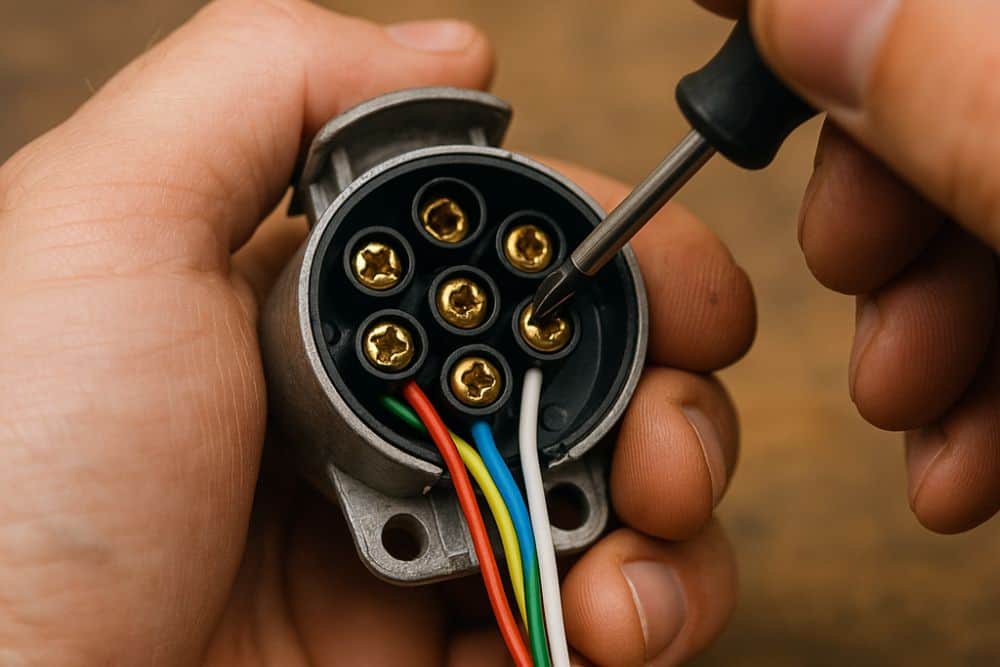
The electrical connection between your tow vehicle and caravan is crucial for safety, providing power to the caravan’s road lights and often charging the leisure battery while travelling. The most common connection types in New Zealand are 7-pin flat and 12-pin flat plugs, each serving different functions. If your caravan’s road lights aren’t working, start by inspecting both the plug and socket for corrosion, bent pins, or accumulated dirt that might prevent proper contact.
Corrosion is particularly common on tow connections because they’re exposed to road spray, rain, and general environmental conditions. Clean any corrosion with electrical contact cleaner and a small brush, then apply dielectric grease to protect the contacts from future corrosion. This simple maintenance can prevent many connection problems before they occur.
If cleaning doesn’t resolve the issue, test the socket on your tow vehicle using a plug-in tester or by connecting a different trailer if available. This helps determine whether the problem is with the vehicle’s socket or the caravan’s wiring. Faults in the tow vehicle’s socket wiring are common, particularly if the socket was aftermarket fitted or if the vehicle has had previous electrical work done. Issues with trailer light problems can often be traced back to these connections.
Safety Considerations When Working with Caravan Electrics
Understanding Your System
Before attempting any electrical troubleshooting, it’s important to understand the basics of your caravan’s electrical system. Most caravans have two separate electrical systems: a 12V DC system powered by the leisure battery, and a 240V AC system that operates when connected to mains power. The 12V system is generally safer to work with, but the 240V system presents the same risks as household electricity and should only be worked on by qualified electricians.
Your caravan should have a consumer unit or distribution board that contains the fuses or circuit breakers for both systems. Familiarise yourself with the location of this unit and the circuits it controls. Many caravans have a diagram inside the consumer unit cover that shows which fuse or breaker corresponds to which circuit. If your caravan doesn’t have this, consider creating one yourself as a reference for future troubleshooting.
Keep your caravan’s electrical documentation in an accessible place. This includes the owner’s manual, any wiring diagrams, and records of previous electrical work. This information can be invaluable when troubleshooting problems and can save significant time if you need to call in a professional.
When to Call a Professional
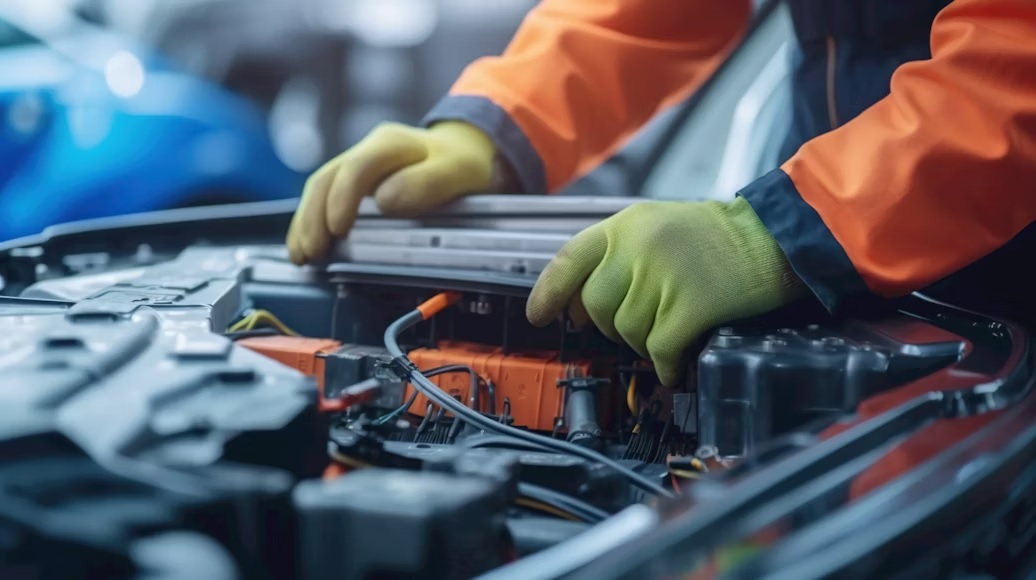
While many basic electrical checks can be performed safely by caravan owners, some situations require professional expertise. Any work involving the 240V mains system should be carried out by a qualified electrician. This includes modifications to the consumer unit, installation of new mains circuits, and repairs to the mains inlet or internal mains wiring. Working on mains voltage without proper qualifications is not only dangerous but also illegal in New Zealand.
Complex 12V issues that you can’t diagnose using basic methods are also best left to professionals. Auto electricians have specialised diagnostic equipment that can quickly identify faults that would take hours to find using basic tools. They also have experience with the specific electrical systems used in caravans and can often spot potential problems before they cause breakdowns.
If you smell burning, see smoke, or notice any signs of electrical damage such as melted plastic or burn marks, stop using the affected circuit immediately and seek professional help. These signs indicate a serious fault that could lead to electrical fires in your vehicle if not addressed properly. Similarly, any electrical work required for certification or compliance purposes must be carried out by appropriately qualified professionals.
Preventive Maintenance for Caravan Electrical Systems
Regular Inspection Routines
Prevention is always better than cure when it comes to caravan electrics. Establishing a regular inspection routine can help you identify potential problems before they leave you stranded. Before each trip, check that all lights are working, including road lights, interior lights, and any external lights. Test your 12V sockets and USB ports with a device you know works. Check your battery voltage and ensure your charger is functioning correctly.
At least once a year, conduct a more thorough inspection of your caravan’s electrical system. Check all visible wiring for signs of damage, wear, or rodent activity. Mice and rats can cause significant damage to caravan wiring, particularly if the van has been stored in rural areas. Inspect all connections for corrosion and tightness, paying particular attention to battery terminals and earth connections.
Keep a basic electrical toolkit in your caravan that includes spare fuses of various ratings, a multimeter, electrical tape, a wire brush for cleaning terminals, and dielectric grease for protecting connections. Having these items on hand allows you to address minor issues quickly without having to find an auto parts store in an unfamiliar location.
Battery Maintenance
Proper battery care extends the life of your leisure battery and helps prevent unexpected failures. If you have a traditional lead-acid battery, check the electrolyte level regularly and top up with distilled water if necessary. Keep the battery terminals clean and apply a thin layer of petroleum jelly or terminal protector to prevent corrosion. Modern AGM and lithium batteries require less maintenance but still benefit from regular voltage checks and proper charging practices.
How you store your caravan affects battery health significantly. If your caravan will be unused for extended periods, either remove the battery and store it in a cool, dry place, or use a maintenance charger to keep it topped up. Leaving a battery to discharge completely can cause permanent damage, particularly to lead-acid batteries. Ideally, batteries should be kept above 50% charge during storage.
Consider your power usage patterns and whether your current battery setup meets your needs. If you frequently find yourself running low on power, upgrading to a higher-capacity battery or adding a second battery might be worthwhile. Solar panels are also an excellent addition for caravan owners who spend time off-grid, providing a constant trickle charge to maintain battery levels without running a generator or relying on mains power.
Need Help with Caravan Electrical Problems?
Caravan electrical issues can range from simple fixes to complex problems requiring professional diagnosis and repair. Understanding the basics of troubleshooting can help you resolve minor issues and identify when it’s time to seek expert assistance. As auto electricians in Auckland, Eurosparx can help you with all aspects of caravan electrical systems, from diagnosing mysterious faults to installing new equipment. Contact our team today by calling 09 218 7789.